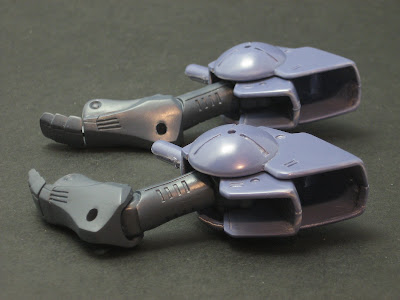
Wednesday, May 30, 2007

Vatshu Ankle Joint Modifications

I'll break it down for you. First I carved out some of the plastic that was there to hold the original stupid poly cap:

Until the new socket PC fit nicely, but loosely at the level where I wanted it:

Then I laid down a little "pad" of Magic Sculp epoxy putty for the new PC to press into:

And after the PC was mounted at the right depth and angle, I filled in the surrounding area with more Magic Sculp using clay sculpting tools to press and work it smoothly into place:

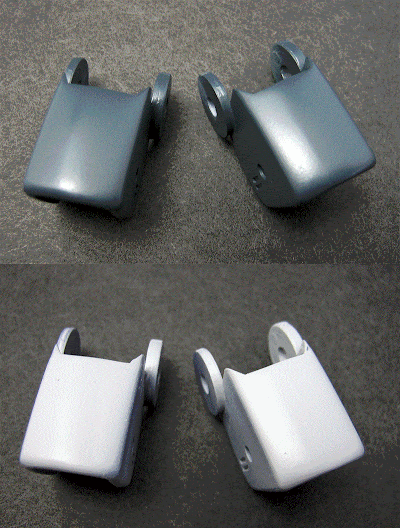
These are the "ankle bones" that connect the top of the foot to the bottom of the leg:

So now the ankles will be essentially double jointed.

Look at these videos for a more well-rounded view of all the action (ignore the sound, please):


Once again the main idea here is that test fitting is of the utmost importance in Garage Kit building. Even more so if you want to do modifications.


Monday, May 28, 2007

Vatshu footage

Those who have been with me for a while will remember this:


Well, after much deliberation and a failed attempt or two, I think I've figured out
how to succeed.

I'm making a mold of the bottom of the foot from my 1/144 KOG Patraqushie starting with this stuff:

and bulding up about 8 layers.


I used a blowdryer to get the layers built up quickly, then through a supreme effort of will I let it cure overnight.

Now take a look at the results:


The latex took the detail pretty nicely:


Come back later for the resin casting experience.


Friday, May 18, 2007

2 mods on Vatshu

hip joint are now ball joints instead of floppy side-pinned tubes.


and I filled in a significant portion of the gaping holes at the sides of the chest.


Sunday, May 6, 2007

SD Gunner Zaku Lunamaria Hawke custom


I built this little guy last night to get ready for an intro to model building presentation I'm running with for a roomful of kids at Anime Central in Chicago next weekend.

I shot video of every part of every step of the assembly process so the kids can see first hand how it's done and then do it for themselves.

I feel like I really had a breakthrough in terms of using the camera as my eyes. I stood behind the camera with my magnifying visor on so that that little camera LCD monitor didn't seem quite so small.

It still eliminated the main cues (you know, 3D binocular vision) I use for depth perception, though, and that's always been the hardest part for me about shooting close up modeling vids. I always feel like my hands are just swimming around in space and I constantly want to peek over or around the camera to be able to see what I'm doing "with my own eyes" as it were.

I worked really hard to get the lighting decent and I think that helped alot, as did the magnifying visor. Here are two of the videos from late in the process:

Final Stage of building the BFG:

and mounting the BFG onto the Zaku:


Saturday, May 5, 2007

More on Vatshu

I got the shoulder armor cleanup done.

First the inside of that piece from the last post:


And around the edges:


I got the final priming and sanding done on the smaller inner layer of shoulder armor too. I feel like I'm finally getting a handle on this whole elimination of seams thing.

Here's an animated gif of those inner armors:

I don't know if the gif will work, so here are the individual images:


Thursday, May 3, 2007

Vatshu cleanup

Working on the shoulder armors.

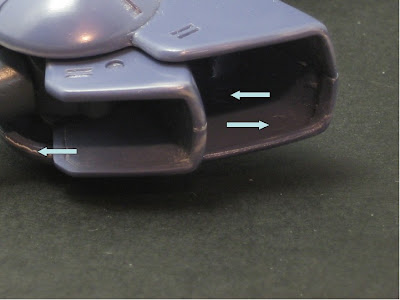
I realized that the insides of these big panels were hugely exposed and needed smoothing out. Lucky for me I hadn't glued them together yet (hooray for test fitting). Here's what I'm talking about:

If you look inside there you can see little circles, pointed out on the right side in this pic (you might need to angle your monitor down to see it):

The arrow on the left is pointing out a rough edge I'll need to polish too.

On this pic you can see what this part looks like before and after smoothing out:


and here's a little movie, with actual narration no less, that shows you how to quickly and relatively painlessly clean up parts that show their "wrong" sides like this and other shoulder armors so often do:


Even if I was doing "no-paint" this would look good now. But I'm painting this time around, so stay tuned :)