They pretty much speak for themselves...
Tuesday, December 23, 2008
A-Taul from L-Gaim from Start to Finish
It'll take you a little over a half an hour to get through these, but I found out how to embed them in high quality, and they're all edited and stuff, so I imagine it could be time well spent if you like this sort of thing.
They pretty much speak for themselves...
They pretty much speak for themselves...
Friday, October 24, 2008
Brocken Labor WIP to completion
I hadn't been doing much modeling for a while, and that had to change.
I dug out an old Patlabor kit that I picked up cheap at a Convention years ago. I didn't want to instantly burn myself out slaving away at an L-Gaim or FSS kit, so I went for something simple.
I didn't do any modifications other than weighting the feet with birdshot - no flying poses will ever be done with this guy.
Mostly I didn't even bother to chop registration pins as I was putting this together. I glued the facing edges of parts that would form seamlines as I snapped the kit together and that worked pretty well for later smoothing those lines.
I really had fun with airbrushing this kit. I made my first significant attempt at shading, and layered multiple shades to get what I think is a very nice depth to the finish.
Here are 4 videos of the process:
Here are a couple of finished images


If you'd like to see more, you can look here.
Monday, April 14, 2008
detailing my new bike
Pictures are way too big right now, I hope to fix them later. Sorry.
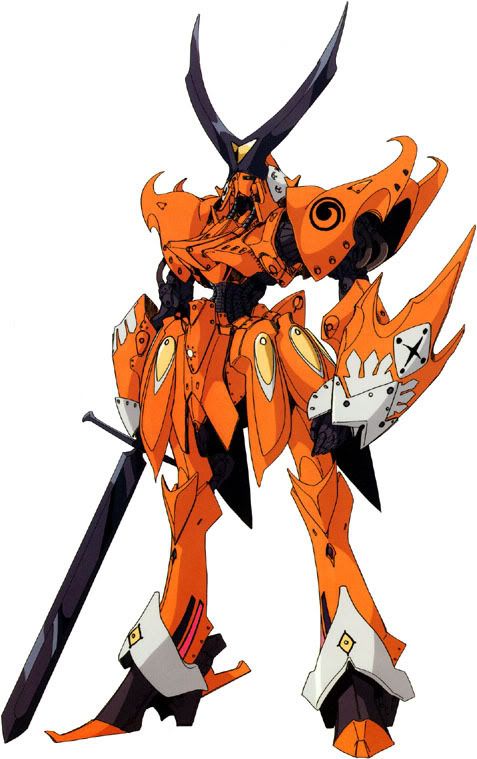
I bought a new mountain bike last week. Just an "entry level" Specialized, and it was last year's model (that kind of consumerist stuff cracks me up) so I got a nice deal on it. But beggars can't be choosers and it's basically got a boring black and silver paint job, so I thought I'd spice it up a bit with some Five Star Stories related detailing. Going through my reference books, I thought I might do a V-Siren Prominence deal on it - all that orange, gold, and black would look awesome.
But alas I have neither the time nor the skill necessary to tear down an entire bike to do a full repaint at this point in my painting and biking career.
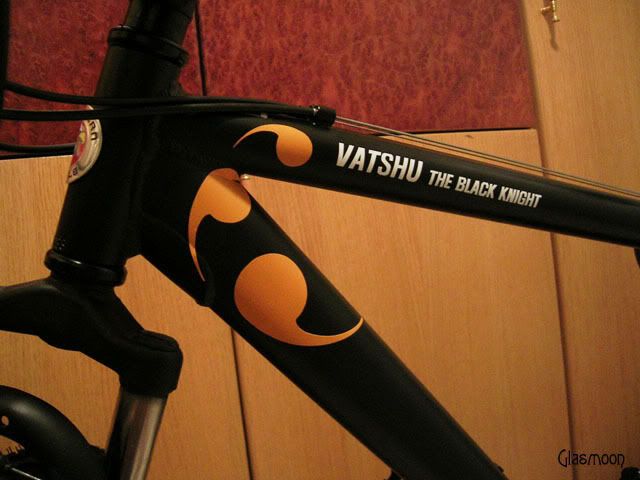
Didn't want to do a Vatshu scheme, mainly since I've seen it done before.
So then I checked out the Phantoms, and the Mighty series because I knew there were some black mechs in that territory. I decided on the Hydra Mirage.
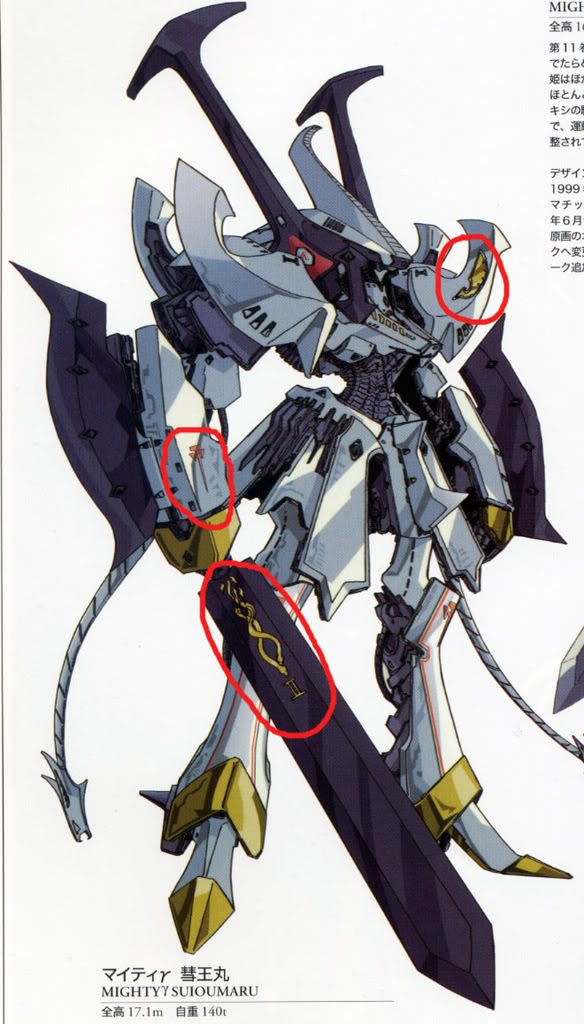
I love the AKD cross, and I think serpents and wings are very appropriate for bike details. My son was also born in the Chinese Zodiac year of the snake/serpent, so I get a little homage to him in that way too.
So far I've got the cross and serpents done.
Here's how...
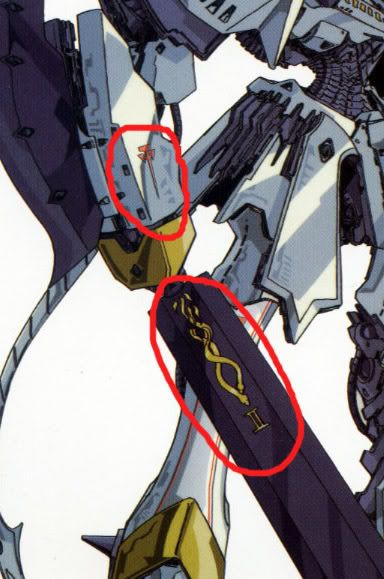
I spent the first evening just doing drawings. The serpents were the hardest to replicate, but I'm glad I invested in a copy of Knight Flags when it came out several years ago. Those huge (roughly tabloid sized) volumes from the Characters series are excellent for detail and color reference.
I wasted a bunch of time imagining that I could save time and effort photoshopping and/or illustratoring the images and then getting vinyl stickers printed. I guess it was a learning experience, but the main thing I learned was that I'm better with analog art supplies than with digital ones. So airbrushing the designs was going to be the way for sure.
But how to mask for such complicated designs???
After searching around town for airbrushing frisket film, and then I lucked into finding this stuff:
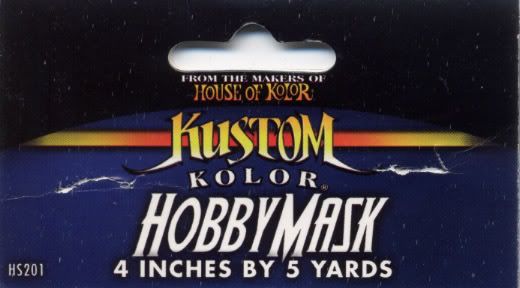
I have to say that I am exquisitely pleased with how it works (it could be a little cheaper, but oh well). I don't know if it would be as fantastic for smaller projects, but for this it was amazing.
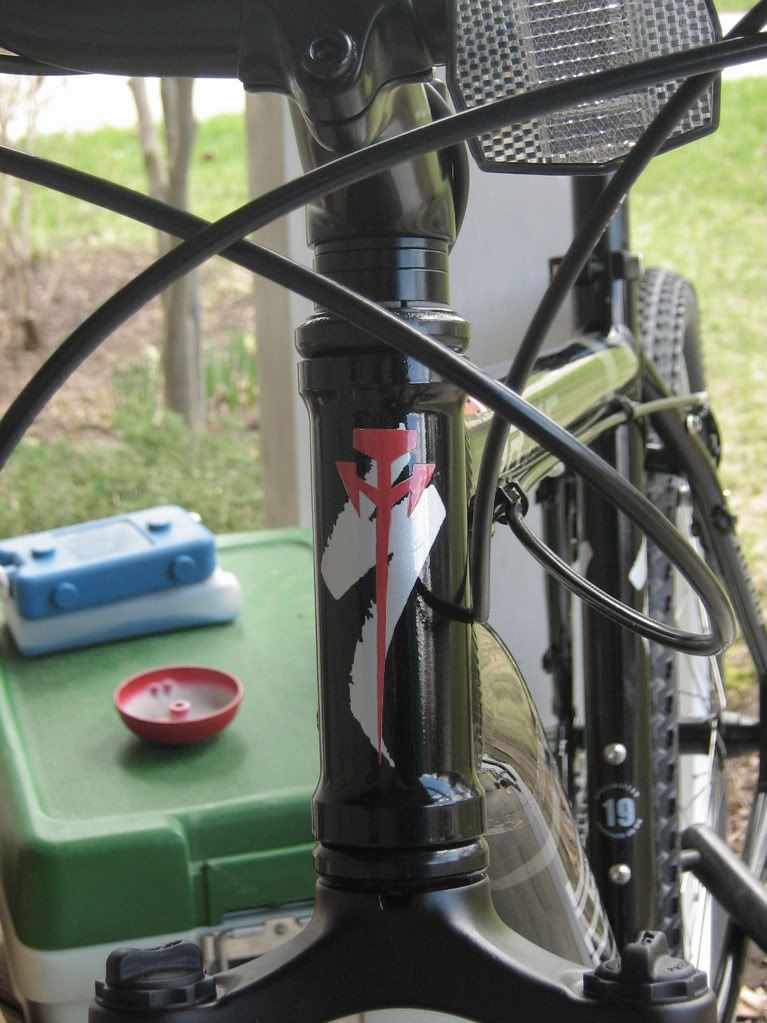
I did the AKD cross first, and after a number of false starts (do not try to cut out a design and then apply the cut film to your surface, you must apply the film first and then cut and peel the areas that will take the paint) I finally traced the shape onto the film with an opaque paint pen (Sharpie wouldn't stick to the film well and the transparency of the ink made it impossible to see the cutting lines), applied the film and then cut out the design. I'm glad I used a simple design to start with, it lowered my level of frustration considerably to make mistakes that each took a relatively small amount of time.
I sprayed a layer of Testors base white lacquer so the cross would pop nicely. Then I mixed up a custom color from Testors Gloss clear coat, Pearl-Ex Super Russet pearl powder, and a drop of Mr Color red and sprayed that over the white. I think I went a little heavier with it than I needed to, but after letting it cure for an hour or so I cut around the design so that the edges of the paint wouldn't tear and flake, lifted the making film, and gave it a final gloss clear coat.
Good enough.
On to the snakes.
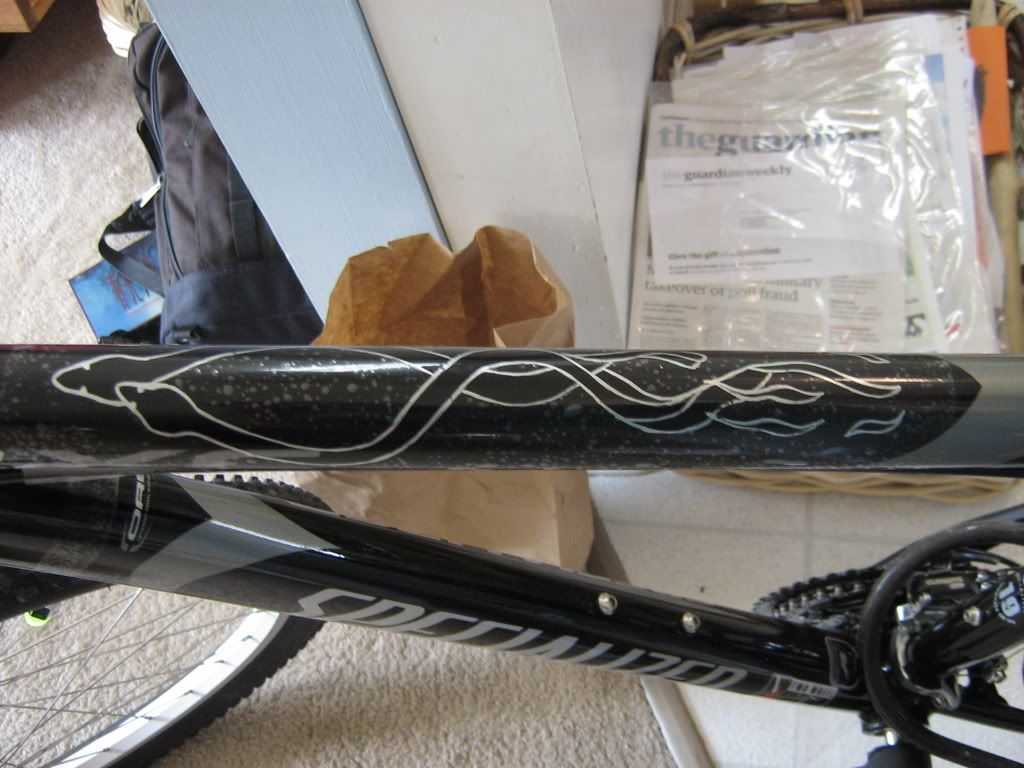
With this design I discovered something amazing about this masking film: it sticks firmly onto inkjet printer paper so that one can very readily trace any printed lines, and then the film lifts cleanly off the paper without peeling shards of paper up and with full retention of its ability to adhere to the glossy surface of the bike frame.
This process yielded the following result:
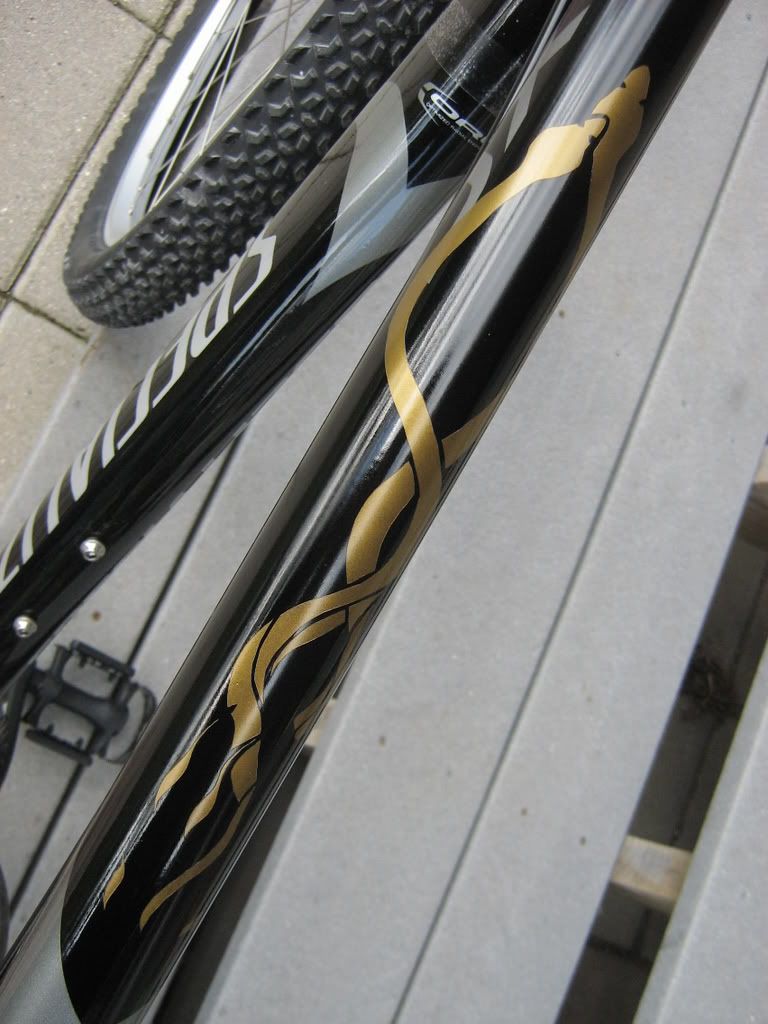
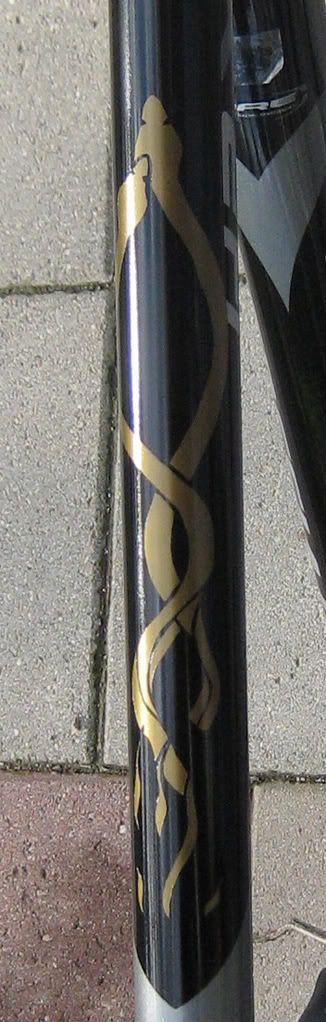
Then I carefully cut inside the traced lines with a sharp hobby knife and peeled up the areas that needed to take the paint. I went much lighter with the paint this time around, mainly because I didn't want to have to cut around the design before lifting the film. The mix was simply gloss clear lacquer and Pearl-Ex antique gold ( I accidentally lied about the paint in the VO narration) sprayed at low pressure - around 10 PSI I think.
Here are two videos showing the result:
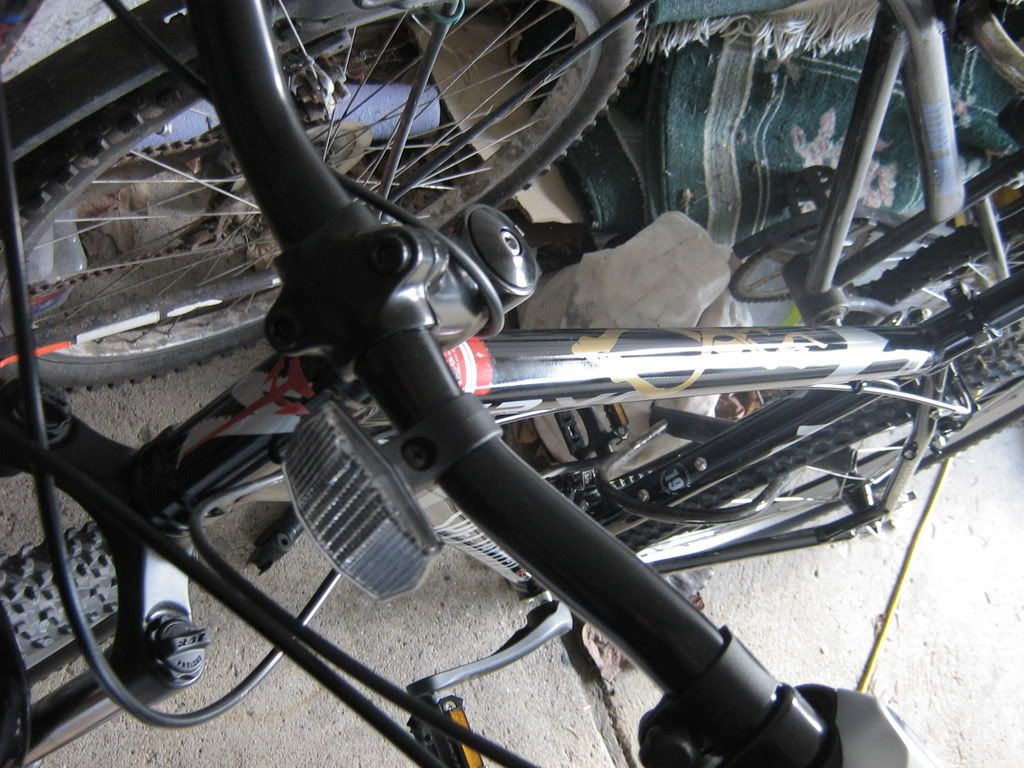
And a few images:
I'll try to get the wings on ASAP.
I bought a new mountain bike last week. Just an "entry level" Specialized, and it was last year's model (that kind of consumerist stuff cracks me up) so I got a nice deal on it. But beggars can't be choosers and it's basically got a boring black and silver paint job, so I thought I'd spice it up a bit with some Five Star Stories related detailing. Going through my reference books, I thought I might do a V-Siren Prominence deal on it - all that orange, gold, and black would look awesome.

But alas I have neither the time nor the skill necessary to tear down an entire bike to do a full repaint at this point in my painting and biking career.
Didn't want to do a Vatshu scheme, mainly since I've seen it done before.

So then I checked out the Phantoms, and the Mighty series because I knew there were some black mechs in that territory. I decided on the Hydra Mirage.

I love the AKD cross, and I think serpents and wings are very appropriate for bike details. My son was also born in the Chinese Zodiac year of the snake/serpent, so I get a little homage to him in that way too.
So far I've got the cross and serpents done.

Here's how...
I spent the first evening just doing drawings. The serpents were the hardest to replicate, but I'm glad I invested in a copy of Knight Flags when it came out several years ago. Those huge (roughly tabloid sized) volumes from the Characters series are excellent for detail and color reference.
I wasted a bunch of time imagining that I could save time and effort photoshopping and/or illustratoring the images and then getting vinyl stickers printed. I guess it was a learning experience, but the main thing I learned was that I'm better with analog art supplies than with digital ones. So airbrushing the designs was going to be the way for sure.
But how to mask for such complicated designs???
After searching around town for airbrushing frisket film, and then I lucked into finding this stuff:

I have to say that I am exquisitely pleased with how it works (it could be a little cheaper, but oh well). I don't know if it would be as fantastic for smaller projects, but for this it was amazing.
I did the AKD cross first, and after a number of false starts (do not try to cut out a design and then apply the cut film to your surface, you must apply the film first and then cut and peel the areas that will take the paint) I finally traced the shape onto the film with an opaque paint pen (Sharpie wouldn't stick to the film well and the transparency of the ink made it impossible to see the cutting lines), applied the film and then cut out the design. I'm glad I used a simple design to start with, it lowered my level of frustration considerably to make mistakes that each took a relatively small amount of time.
I sprayed a layer of Testors base white lacquer so the cross would pop nicely. Then I mixed up a custom color from Testors Gloss clear coat, Pearl-Ex Super Russet pearl powder, and a drop of Mr Color red and sprayed that over the white. I think I went a little heavier with it than I needed to, but after letting it cure for an hour or so I cut around the design so that the edges of the paint wouldn't tear and flake, lifted the making film, and gave it a final gloss clear coat.

Good enough.
On to the snakes.
With this design I discovered something amazing about this masking film: it sticks firmly onto inkjet printer paper so that one can very readily trace any printed lines, and then the film lifts cleanly off the paper without peeling shards of paper up and with full retention of its ability to adhere to the glossy surface of the bike frame.
This process yielded the following result:

Then I carefully cut inside the traced lines with a sharp hobby knife and peeled up the areas that needed to take the paint. I went much lighter with the paint this time around, mainly because I didn't want to have to cut around the design before lifting the film. The mix was simply gloss clear lacquer and Pearl-Ex antique gold ( I accidentally lied about the paint in the VO narration) sprayed at low pressure - around 10 PSI I think.
Here are two videos showing the result:
And a few images:


I'll try to get the wings on ASAP.
Sunday, February 17, 2008
Friday, January 18, 2008
Sunday, January 13, 2008
Molding and Casting the Santa Claus Ornament
I managed to get my ornament resin cast and it made for a gift that was very well received.
Here's me smoothing the clay that fills the space between the original piece and the mold box that I built of Lego Blocks. With the clay smoothed out, the negative space in the box will be filled with Room Temperature Vulcanizing mold-making rubber.
This one actually has voice over narration that will explain the mold box a bit.
This is an absurdly long video of me applying mold release to the piece itself and the clay and the blocks around around it. I give it to you in the hope that it will impress upon you the importance of doing this both when you are creating your mold and when you are casting copies of the piece. If your copies, or worse yet your original gets locked into the mold then you will be very sad.
DO NOT DO what you are about to see in the next two videos. I Chopped up some old tin-catalyzed RTV to use as filler in the first mold, but then I discovered that the unmixed tin-catalyzed RTV had passed its expiration date and turned into nasty chewing gum-textured stuff. So I grabbed a bottle of Platinum-catalyzed RTV imagining that I could combine the two in a single mold. They DO NOT COMBINE well at all. So learn from my mistake and don't ever combine them.
The Mistake:
The Result of the Mistake:
Luckily I had enough of the pink stuff to make two more copies of the mold that actually hardened properly. So now here's me pouring the resin - which is a two part mix that fully hardens within about 20 minute - about into the molds.
The Resin itself is Insta Cast White.
It doesn't have the same look and feel that professionally made garage kit resin has, but it worked out great for my purposes, and it was pretty inexpensive.
I really like doing ornaments like this for xmas presents because even though it probably takes about the same amount of time as shopping would take, it's more personal, I'm participating less (or differently) in consumer culture, and it ends up costing me less money.
I'd recommend trying it if you like this sort of thing.
Saturday, January 5, 2008
D-Sserd build begins
I'm getting a group L-Gaim build together over at the best modelers community online.
This is my entry: an old Bandai 1/144 D-Sserd.

Here are the first parts I've put together:

Here's a video of those same parts:
And here's a noisy video of me priming the arm with Mr. Surfacer 1000:
And here's a shot of the first three parts all primed:

This is my entry: an old Bandai 1/144 D-Sserd.

Here are the first parts I've put together:

Here's a video of those same parts:
And here's a noisy video of me priming the arm with Mr. Surfacer 1000:
And here's a shot of the first three parts all primed:

Subscribe to:
Posts (Atom)